 Sometimes it's nice to tell people you're thankful for them. I can't imagine any one not wanting to hear that. I often fell very blessed for the people that God has placed in my life, especially my husband. With that in mind I made him a little thank you postcard a few weeks ago. It's easy to be thankful and just keep it to yourself but why not encourage someone and show they're appreciated with a simple note. You don't need a postcard to say thank you but it's a good excuse. Download the designs here.
 Print the postcards onto coloured card or use the coloured backgrounds I've created in the downloads. The envelopes need to be printed onto A3. You then cut around the edges and the mini diagrams will show you where to fold. Stick it all together with some glue or double sided tape and voila. Happy making!
 I’ve been meaning to make ice pops for aaages but kept on forgetting to order some lolly sticks. I thought up some combinations that sounded yummy and decided to find out if they actually were. I just used cheap ice lolly moulds but ditched the plastic sticks that come with these kinds of sets. I used a short piece of string across each individual mould and secured the wooden sticks with a tiny bit of cellotape. This way the stick stayed where I wanted it to while ice pops set. There may be a much easier way of doing this but I couldn’t think of it.
 For these you’ll need....
- Lemonade
- A small bunch of mint
- Lime chopped thinly
- Some vodka or rum if you'd prefer
Pour a small measure of vodka into the bottom of each mould. Don’t be too generous otherwise you might end up with a very clinical tasting ice pop. Then roughly chop the mint and add as much as you want, along with the lime slices and then almost fill with lemonade. Remember it will swell slightly as it freezes. You may need to push some of the lime and mint down to the bottom if they float up to the top. Then put them in the freezer and leave preferably over night but it will depend on your freezer.
 For these you’ll need....
- Vanilla yoghurt
- Strawberry yoghurt
- Mango and Passion Fruit yoghurt
You will have to add each layer separately and then allow to partially freeze. I left them for about 5 hours in between layers. I also added a few drops of yellow food colouring to the mango and passion fruit yoghurt before layering, which made the colour a bit more punchy, giving a better contrast between this layer and the vanilla. Try spooning the yoghurt in carefully and wipe any excess from the sides, to get nice clean lines.
 Some posts ago I excitedly talked about the Stencil Pro set I got for my Birthday. This is a home alternative to screen printing that uses natural light and no chemicals (pretty clever). Our little break provided the perfect opportunity to try the kit out and create some wall art for our home. It takes a bit of trial and error to workout the amount of time to expose it in the sun, as the recommended time lengths are for sunny San Francisco rather than cloudy England, but I got there in the end.
 I created this wall art as another little reminder that every new day belongs to God. It's all too easy to start a day with my own agenda, planning my time as if it's my own, using my money as if it belongs to me, using my energy as if God isn't the one sustaining me, approaching people as if they fit into my plan rather than God's and using my gifts and talents as if they're my own. God is Lord over each day and anything we've been given to work with, is evidence of God's grace in our life. Each day is not really about us at all. Instead it's an opportunity to faithfully use what he's given us and live in a way that glorifies our Creator because he is completely perfect, totally just, more loving than any of us could ever be and a whole lot bigger than we are!
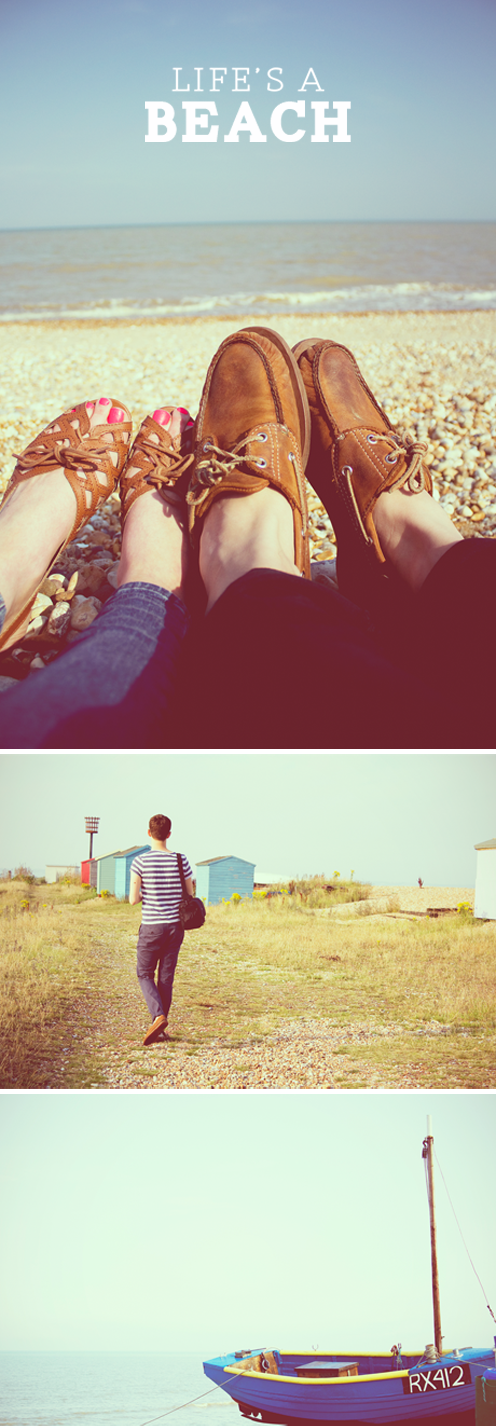 Our beach holiday this year was a little different to last year. The British seaside doesn’t quite compare to the white sand and turquoise sea of the Maldives but never the less the sun was shining and it was lovely to get away and relax in the apartment we borrowed from church friends. We took the opportunity to have some fun with our new toy. A few weeks ago we received a very generous gift in the form of a DSLR camera which I was very very excited about! I feel no sadness in saying good bye to the poor quality of my ‘point and shoot’. Time away gave us a bit of space to get used to our new camera and have a bit of a play, seeing as we were both a bit clueless. There’s lots of things to learn but I’ve been told ‘practice, practice, practice.’
 So I thought it was time for a spring clean, despite the obvious fact that spring is long gone. I felt it was time to re-design my blog with my main intention being to de-clutter! I have a natural tendency to add layer after layer to my designs, which probably comes from years spent avidly collaging. I was hoping for a fresher look and a simpler backdrop for each post to sit in. I say all this as if I did anything more than design it. My husband took care of making it all and changing the html coding lark. I have no understanding of any of that stuff. He said that I deal with the looks and he's the brain, which sounds mildly insulting but I guess it's true. It took six months for me to tire of my original design so lets see where things are after another six months.


